
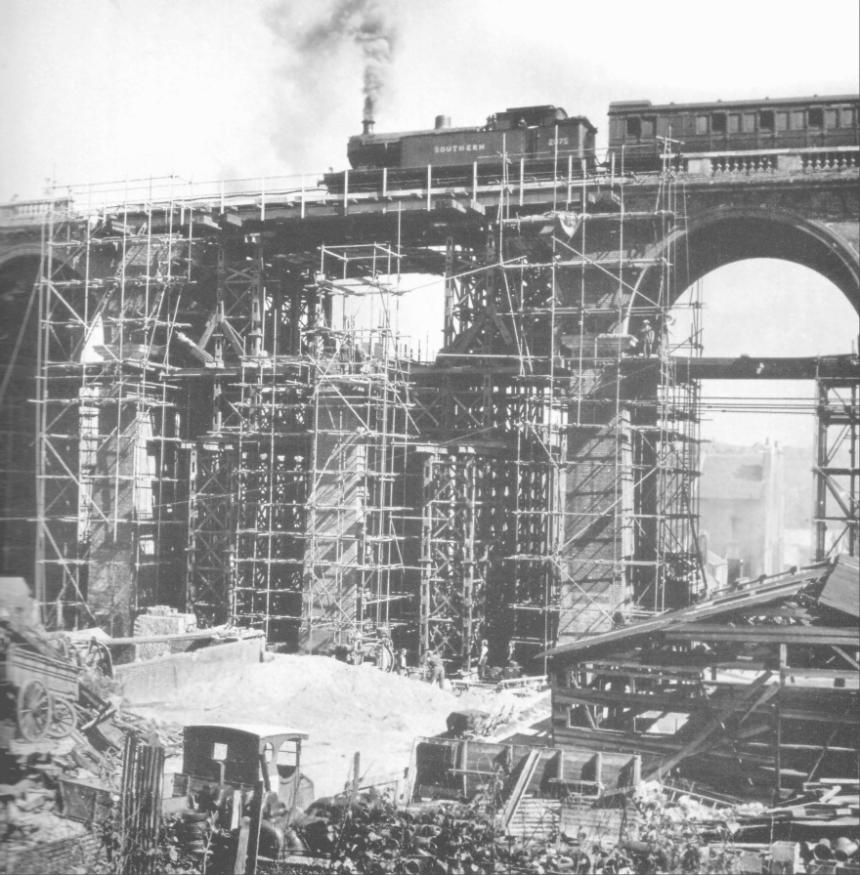
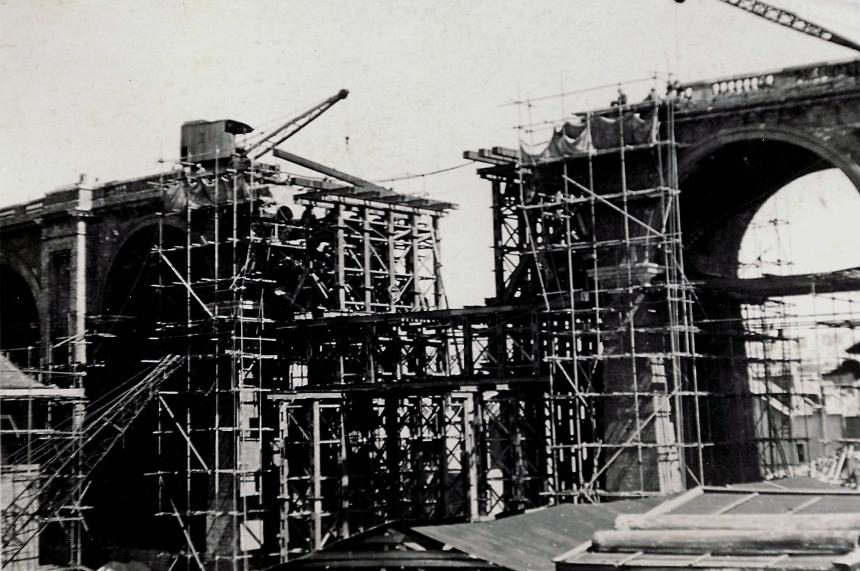
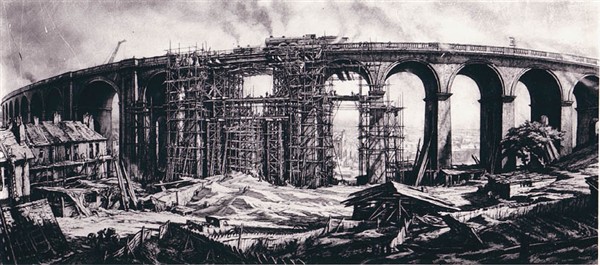
(ABOVE): This picture shows bomb damage to the viaduct and
surrounding area.
British Rail
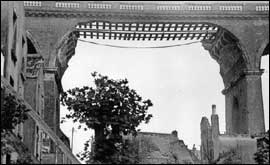
(ABOVE): This photo shows a more specific view of the damage to
the viaduct. It took just 24 hours to get the viaduct up and running again!
British
Rail

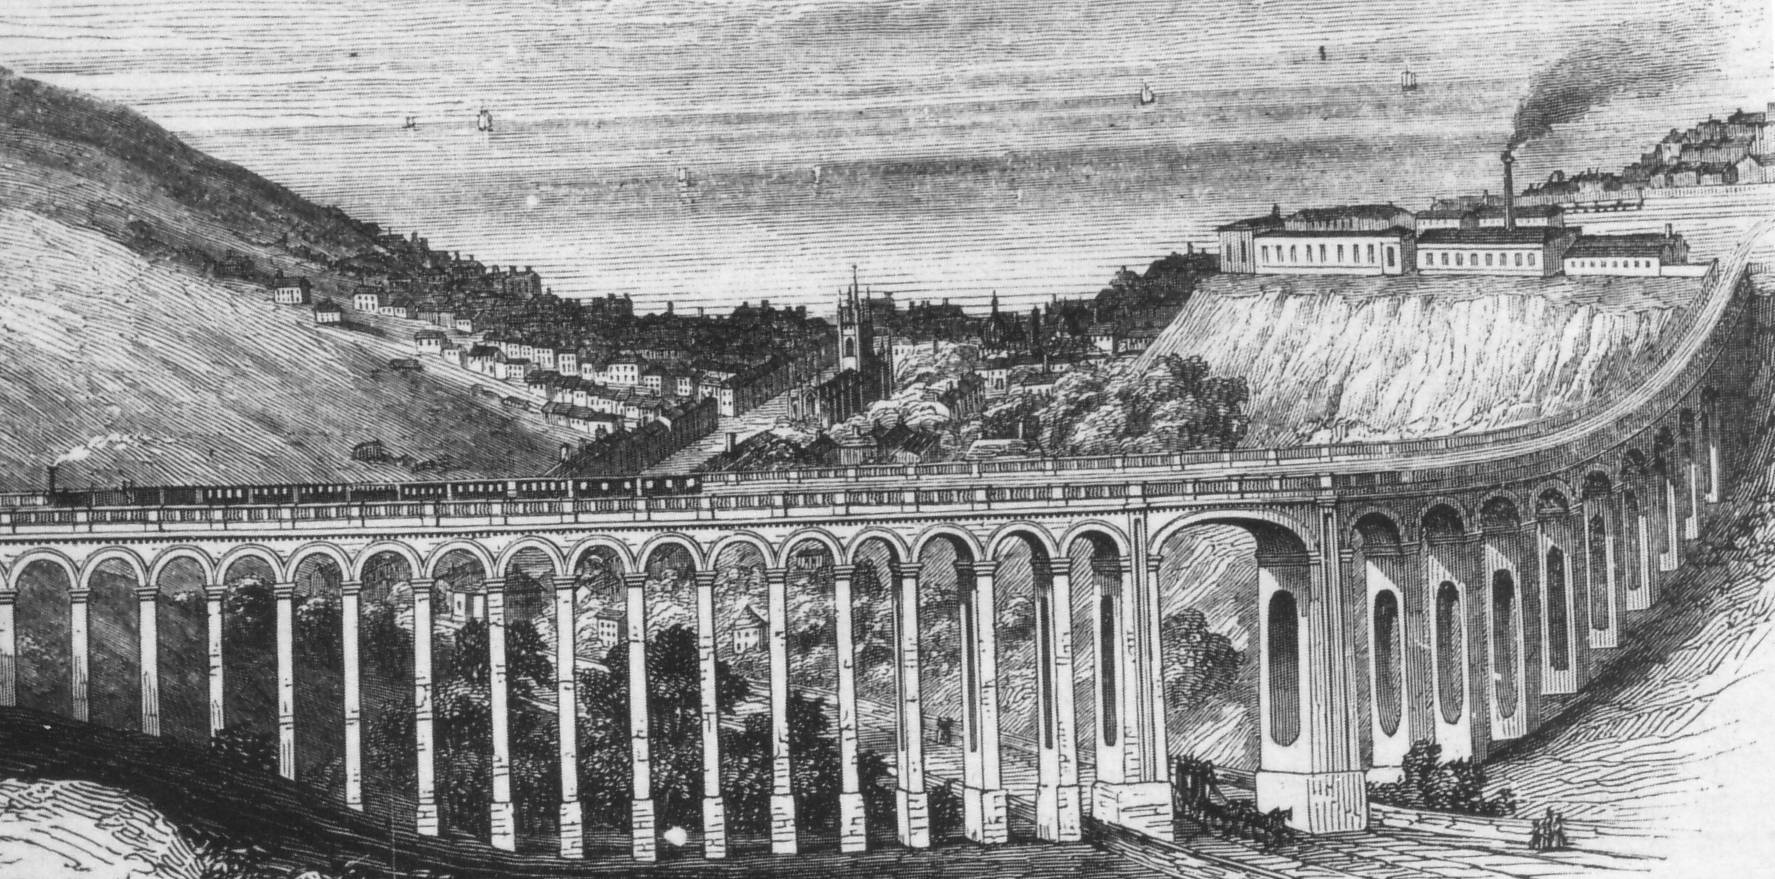
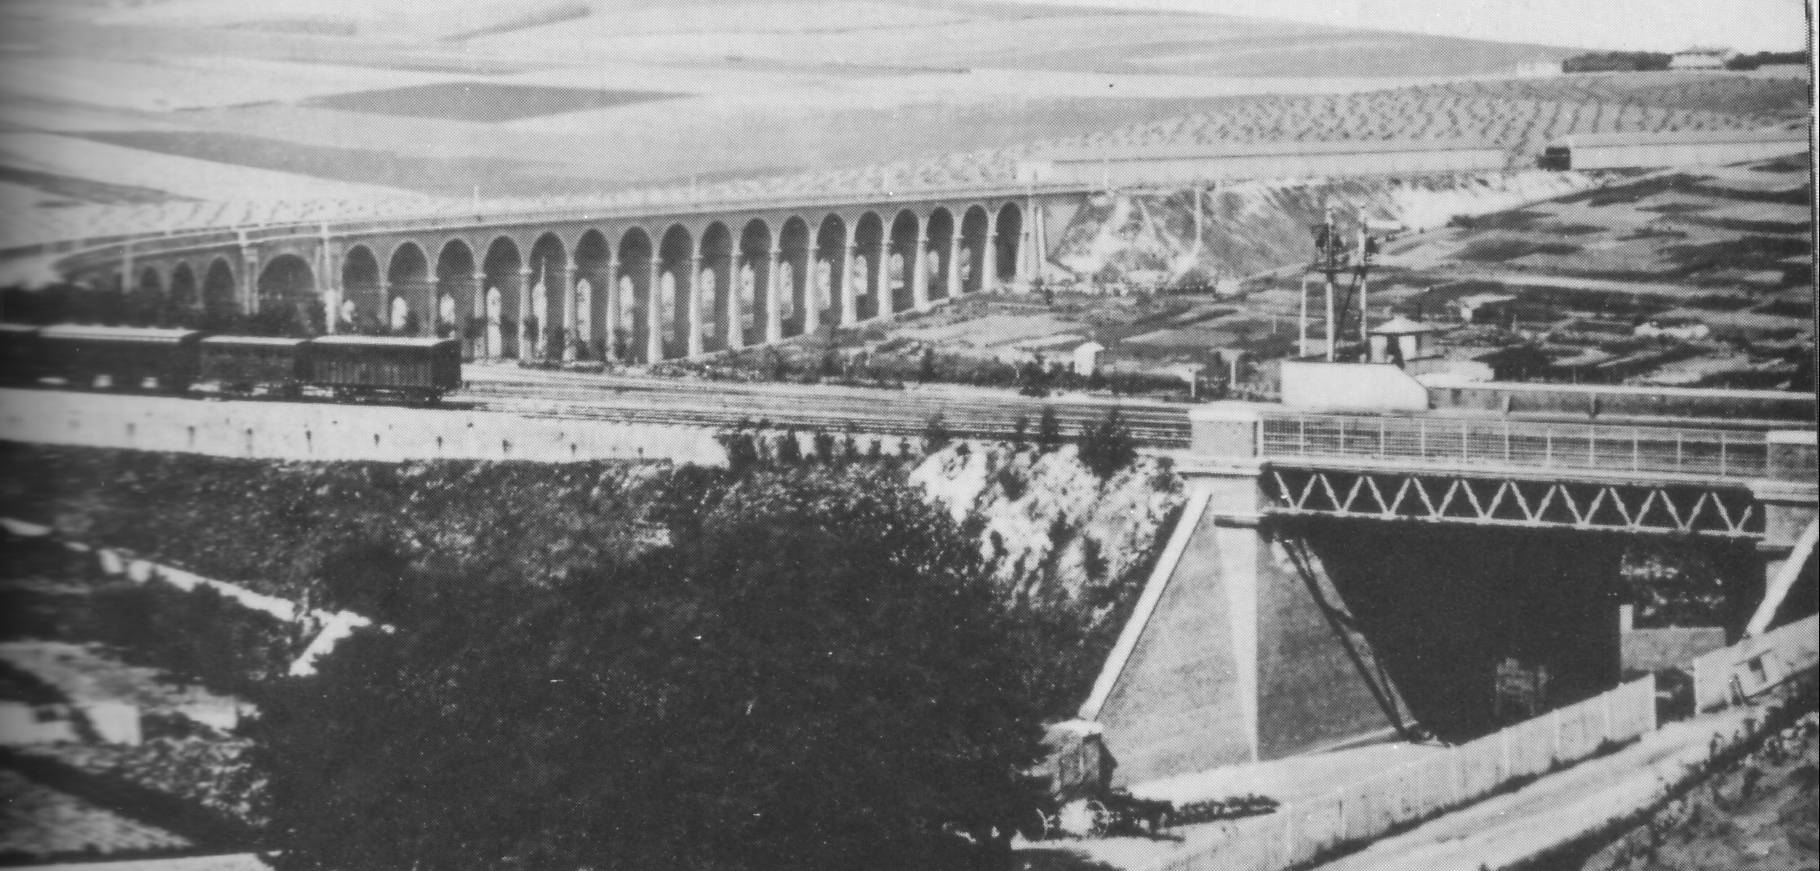
(ABOVE): This view of the viaduct across London
Road Brighton History Resource Centre